Wednesday, May 13, 2015
How to Add Remove or Delete Facebook Exchange on Samsung Galaxy S II I9100
Labels: accounts, Delete, Exchange, Facebook, Galaxy, Gmail, I9100, Remove, SamsungAdding an account on Samsung Galaxy S II:
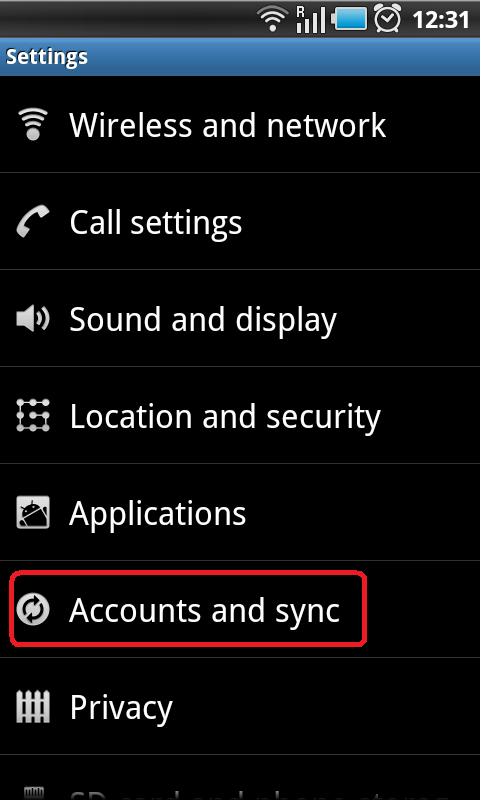
1. Open Settings, the tap on the Accounts & sync selection
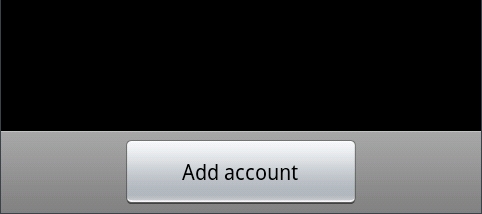
2. Tap on Add account
3. Select the type of account to add (Microsoft Exchange, Facebook and Google are available by default)
4. Follow the on-screen instructions to configure your account (depending on account type, you will be asked to select what kind of data to sync to your device)
5. When complete, the account is added to the list in the Accounts & sync section and data will begin synchronizing to your device
Removing an account on Samsung Galaxy S II:
1. Open Settings, then tap on the Accounts & sync selection
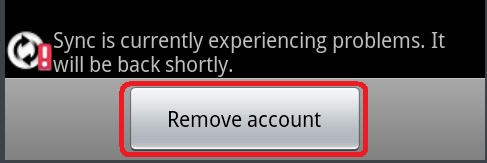
2. Select the desire account you want to remove or delete
3. Then Tap Remove account
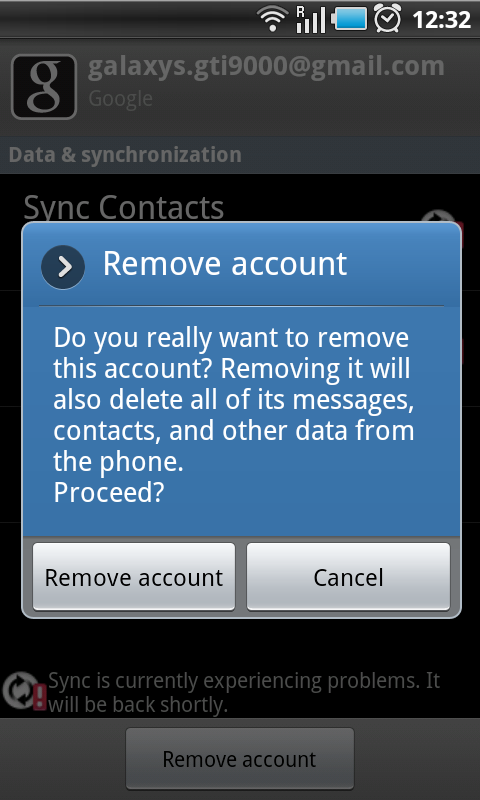
proceed?
Just confirm that you want to remove the account by tapping on Remove account or tap on Cancel if you selected the wrong account
Remove account
5. Your account will now be deleted
Related Post
Subscribe to:
Post Comments (Atom)

0 comments:
Post a Comment